The Rise of the DIY'er
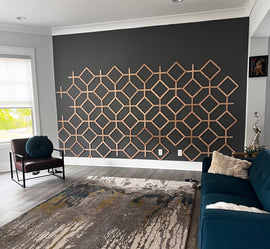
Looking for a versatile and stylish way to enhance your home decor? Creating a slat wall allows you to add a touch of contemporary charm to any space. In this fun and easy-to-follow DIY guide, we'll walk you through the process of installing and customizing your slat wall. Whether you choose birch, alder, cherry, hickory, red oak, or walnut (Samples are helpful if you are picky like me) and decide to paint, stain, or leave it unfinished, the possibilities are endless. So, let's get started with your personalized slat wall project!
Step 1: Gather Your Materials
Before diving into the project, collect the materials to suit your preferences and needs. Here are a few options you can consider:
- Find the Slats that work best for you
- Primer or wood stain (optional)
- Paintbrushes or applicator pad
- Paint or wood stain
- Painter's tape
- Level
- Power drill or construction adhesive
- Screws or appropriate hardware
- Wall anchors (if necessary)
Step 2: Prep the Slats
If your slats require sanding or a primer coat, start by preparing them accordingly. Sand any rough edges or uneven surfaces until they are smooth. If you choose to use a primer, apply it as per the manufacturer's instructions. Allow ample time for the primer to dry before moving on to the next step. If staining, follow the specific staining instructions for your chosen wood type.

Step 3: Customize Your Slats
Now, it's time to let your creativity shine through by customizing your slats. Using a paintbrush or applicator pad, apply your chosen paint or wood stain evenly onto the slats. Be sure to cover all sides meticulously, giving each coat enough time to dry before applying additional layers. The number of coats required will vary depending on the desired finish and the wood type you've chosen.

Step 4: Measure and Mark the Wall
Before installation, measure and mark your wall to determine where you want the slats placed. Use a level to ensure straight lines and mark the desired locations for each slat. Take into consideration any electrical outlets, light fixtures, or other wall obstacles that need to be worked around.

Step 5: Install Your Slats
There are two main installation options: using a power drill and screws or applying construction adhesive to the back of the slats. Choose the method that suits your preferences and needs. If using screws, pre-drill small pilot holes into the marked locations to prevent splitting. Secure the slats onto the wall, making sure they are level and securely attached. Alternatively, if using construction adhesive, apply it to the back of the slats according to the adhesive manufacturer's instructions. Press the slats firmly onto the wall, ensuring proper alignment. If necessary, use wall anchors for additional support.

Step 6: Add Your Personal Touches
Stand back and admire your personalized slat wall! Take a moment to ensure everything is level and aligned to your liking. If desired, touch up any visible screws or paint imperfections using a small brush or touch-up pen. Consider adding decorative elements such as hooks, shelves, or plants to further enhance the appeal of your slat wall.
Congratulations on successfully creating a customized and stylish slat wall that perfectly complements your space! Remember, the beauty of DIY projects is the ability to personalize them according to your preferences. Whether it's the type of wood, the finish, or the installation method, feel free to experiment and make it your own. Enjoy the satisfaction and charm your personalized slat wall brings to your home!
From The Shop - Installation Video
Featured collection
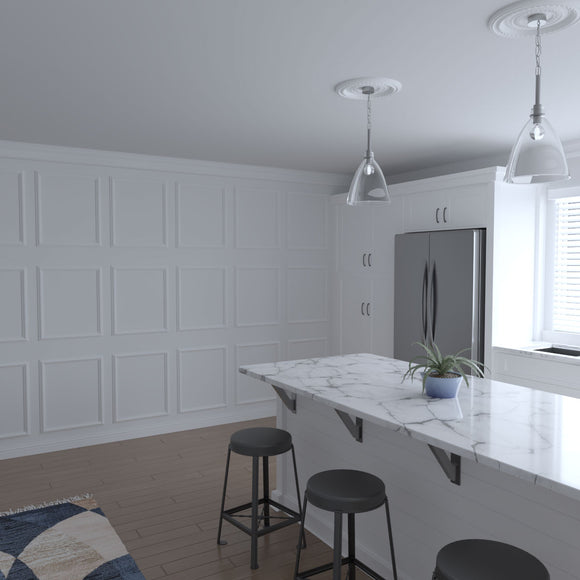

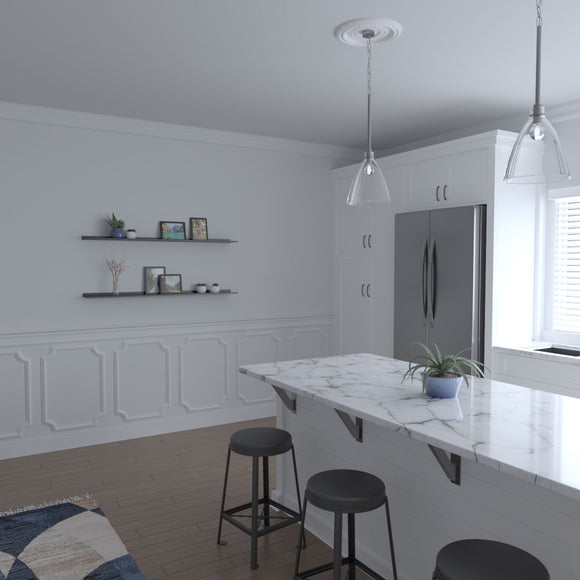
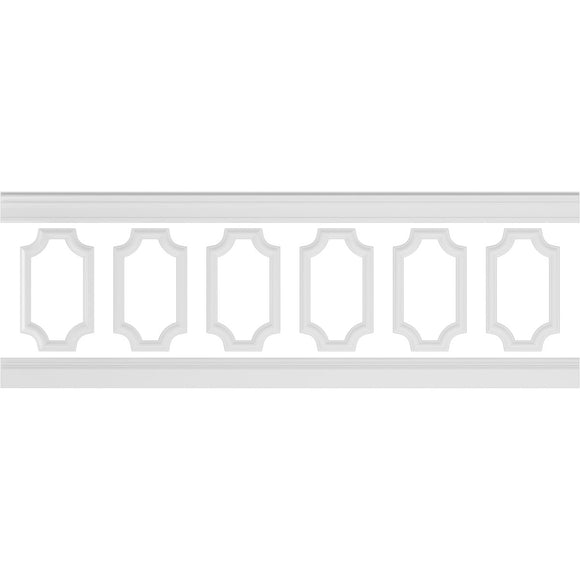
Ashford Square Panel Full Wall Wainscot Paneling Kit


Ashford Wainscot Wall Panel
